The Making of Android Lint Reporter
Android Lint Reporter
Github Actions was recently introduced, that means we can run some jobs without using a separate third party CI. I thought it will be fun to try out Github Actions, so I experimented with it.
Wondering what I can do using Github Actions, one thing I came up with is using it to run Android Lint.
After hours of playing around with it, I realize that it can actually become useful. So I made it into a gradle plugin and named it Android Lint Reporter! What this plugin does is that it parses the lint result and render as a github flavored markdown and post it to Github's pull request.

Github Link: https://github.com/worker8/AndroidLintReporter
So in this post I would like to share how what I have learned.
What Is Android Lint Reporter Plugin?
Here's a brief overview of how the the plugin works.
-
When a Pull Request is created:
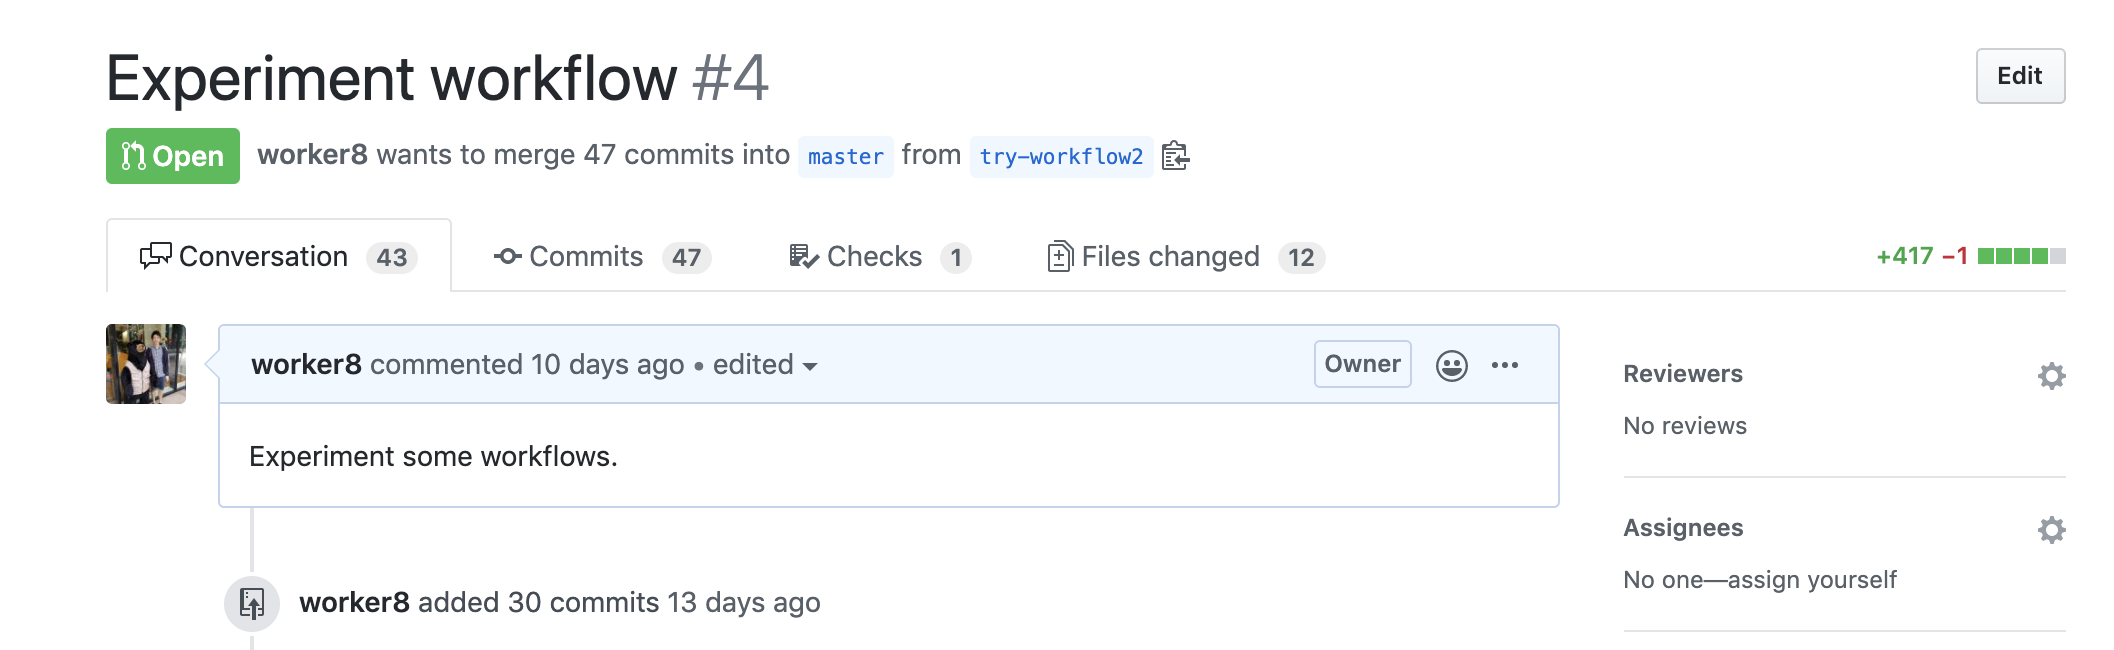
-
Github Actions will be triggered:
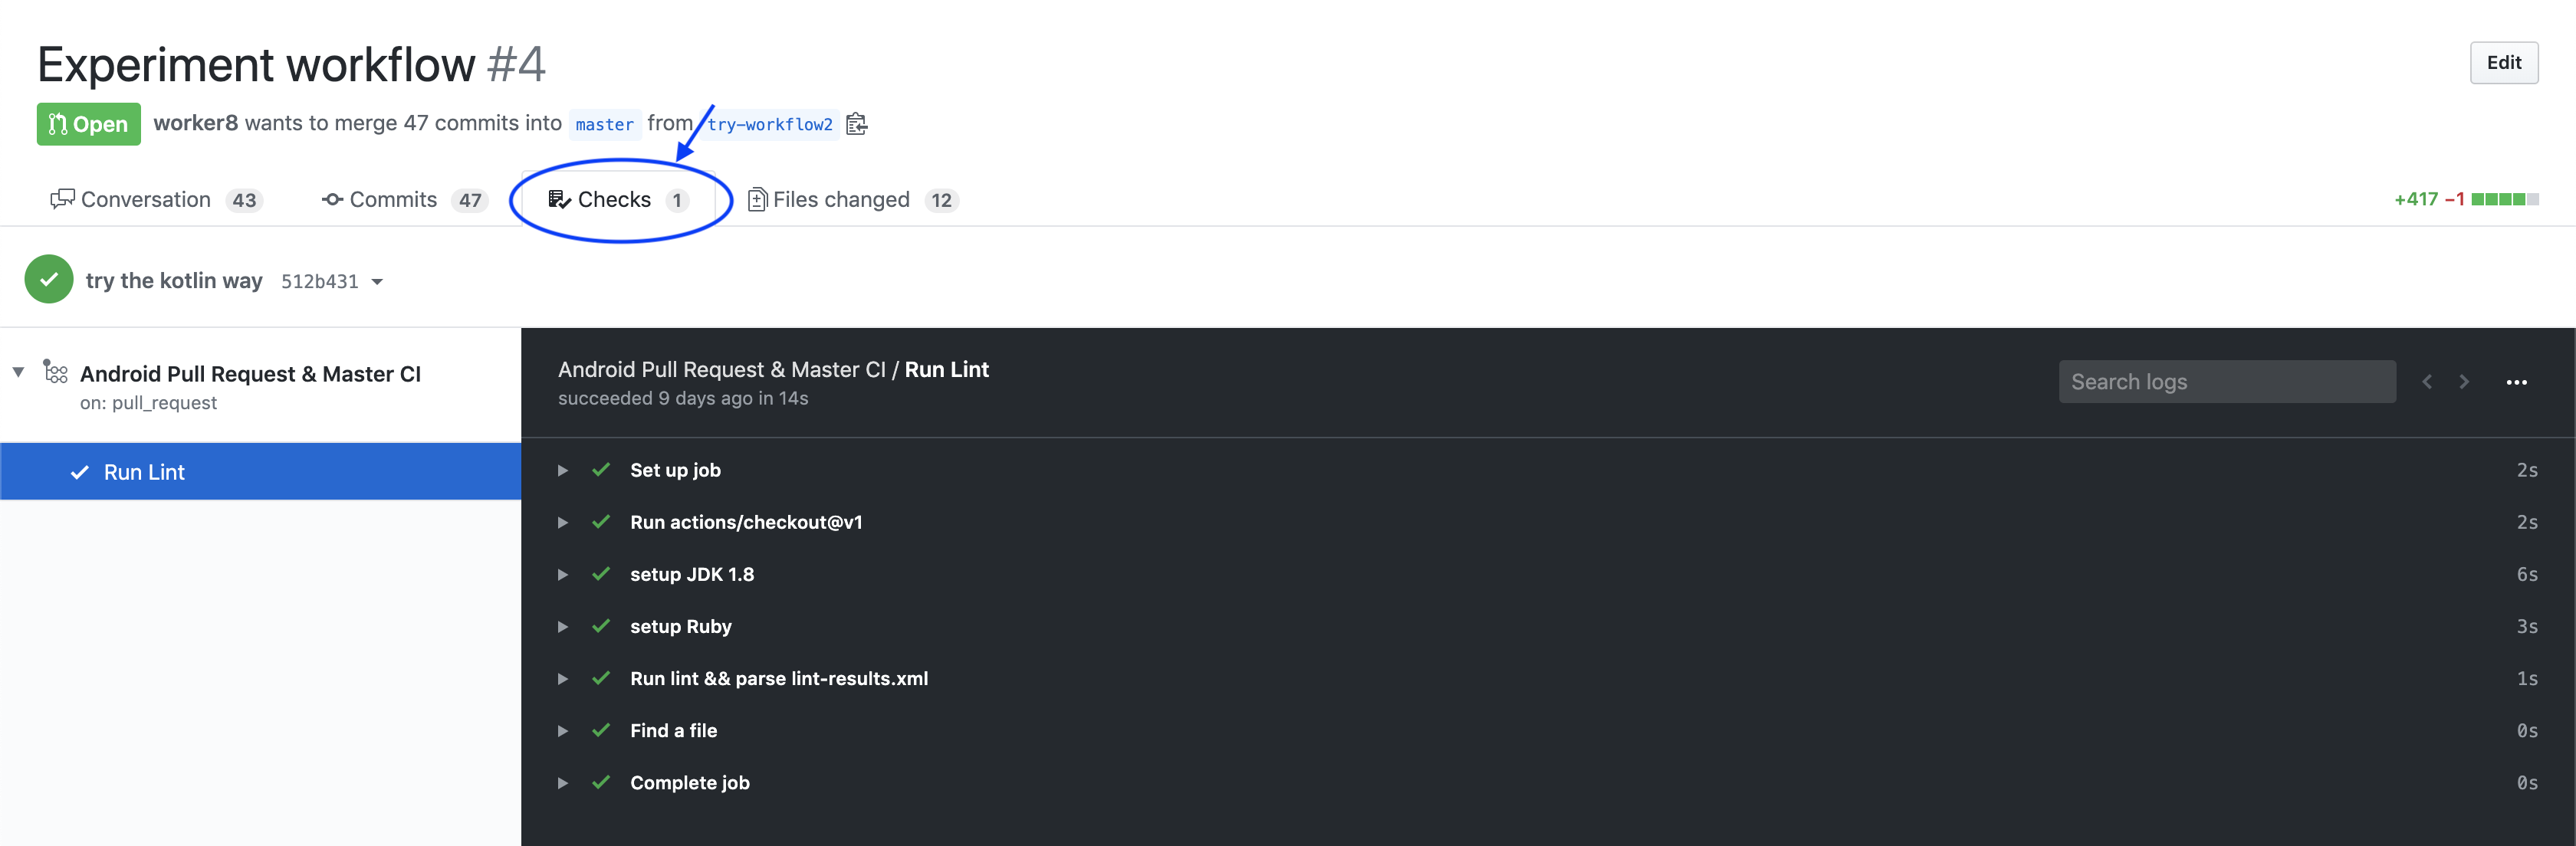
-
The Github Actions will run:
./gradlew lint && ./gradlew parseAndSendLintResult -PgithubPullRequestId=<Pull Request Id> -PgithubToken=<Github Token>Explanation:
-
./gradlew lintwill produce./app/build/reports/lint-results.xml -
./gradlew parseAndSendLintResultis a task provided by the plugin. It will parselint-results.xml, and render a markdown table, then send it to Github.
- After
./gradlew parseAndSendLintResult, this will show up in the pull request.
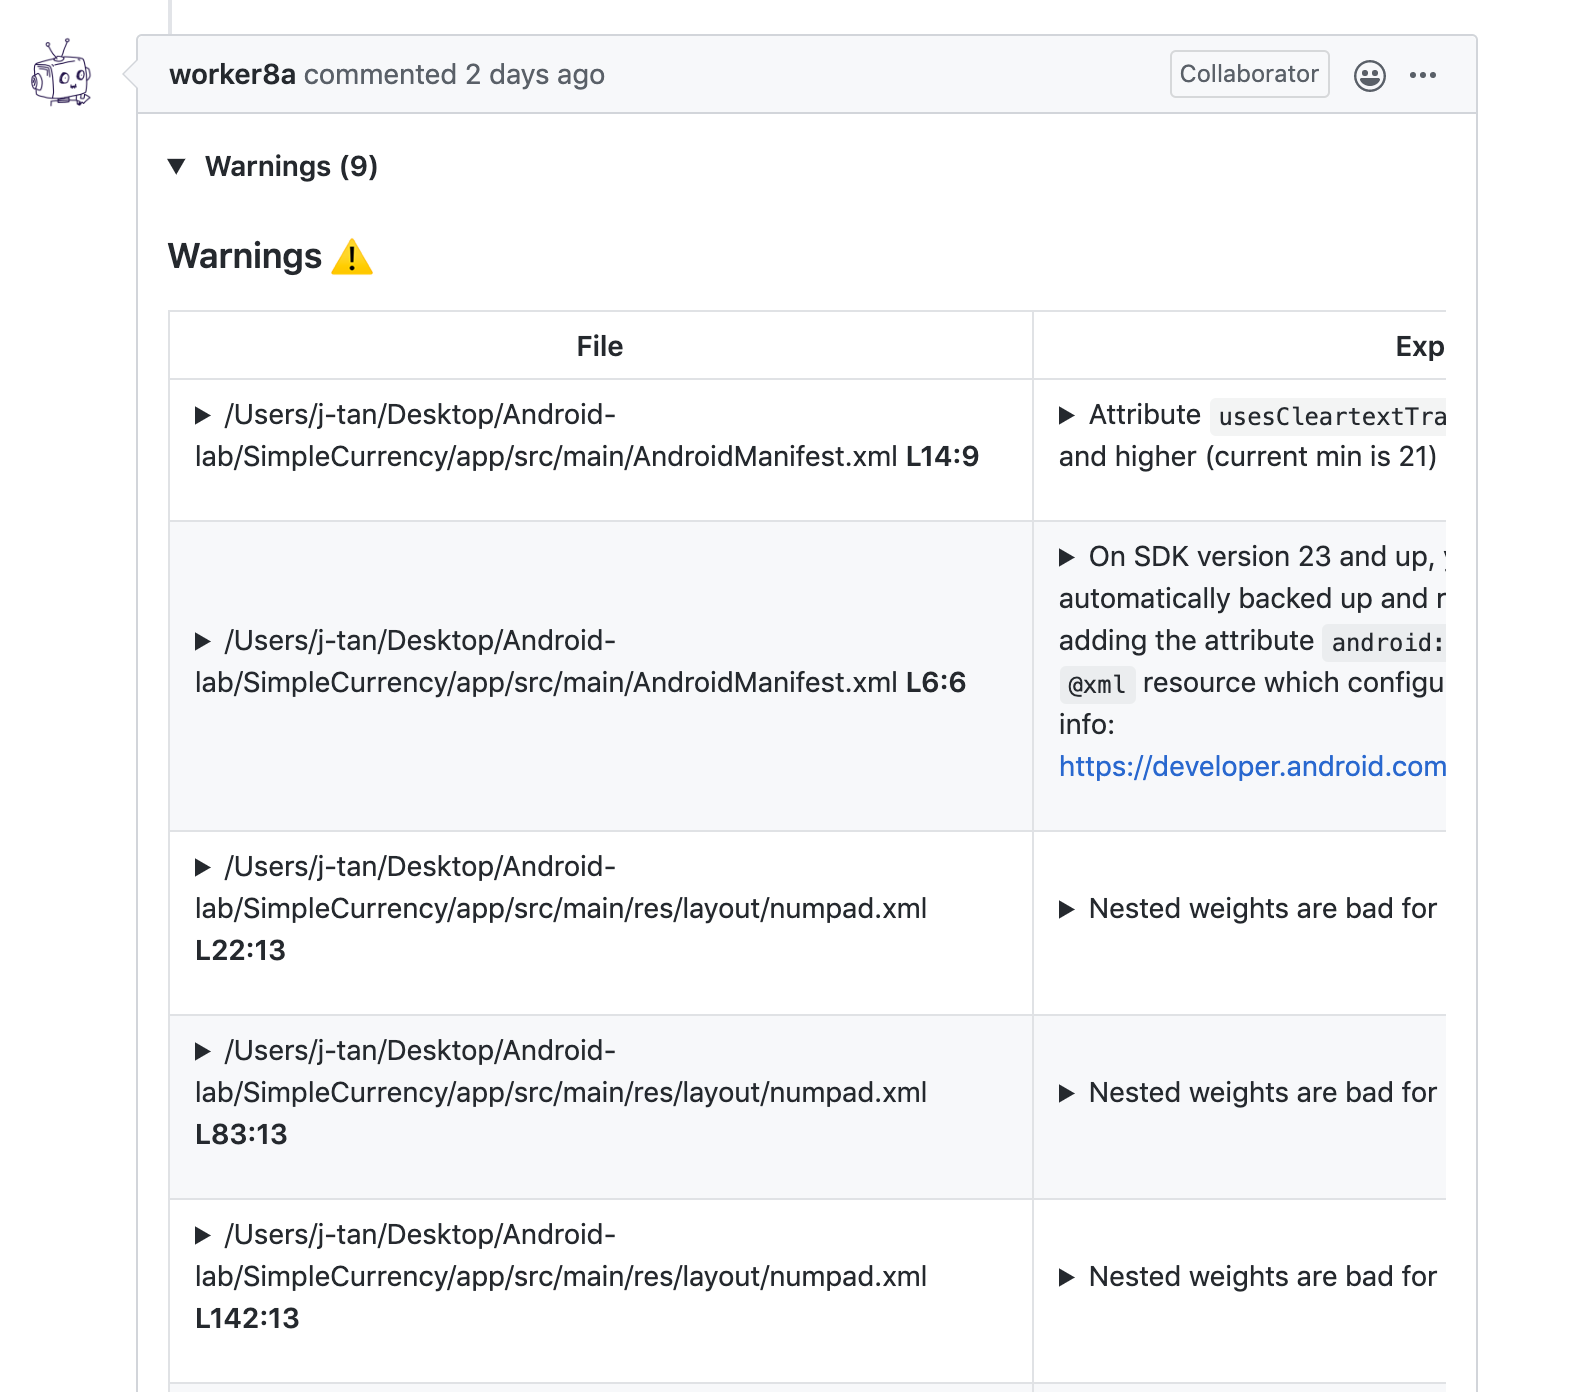
- Now you can fix all the lint errors before merging your Pull Request! Leave out the bad code! 👮♀
How It Works
Now let's go through step by step on how all this work together!
Github Actions
The beginning of this entire flow is started by a trigger using Github Action. A trigger can be setup by adding a yml file under ./.github/workflows/ directory. If the folder doens't yet exist, you can create it.
After creating this folder, a file can be added into ./.github/workflows/, the name can be anything. Let's call it run-lint.yml.
(bash) $ ls ./.github/workflows/run-lint.yml
./.github/workflows/run-lint.yml
The content of run-lint.yml:
name: Android Pull Request & Master CI

on:
  pull_request:
    branches:
      - 'master'
  push:
    branches:
      - 'master'

jobs:
  lint:
    name: Run Lint
    runs-on: ubuntu-18.04

    steps:
      - uses: actions/checkout@v1
      - name: setup JDK 1.8
        uses: actions/setup-java@v1
        with:
          java-version: 1.8
      - name: Run lint && parse lint-results.xml && send report to PR
        env:
          PR_NUMBER: ${{ github.event.number }}
        run: |
          ./gradlew lint && ./gradlew parseAndSendLintResult -PgithubPullRequestId=$PR_NUMBER
Explanation
The on will setup the trigger, it means that whenever there's a push or pull request on master, this workflow described by this yml file will be executed.
Under jobs:
-
runs-ondescribe the machine that it will be running one. Hereubuntu-18.04is used. - under
steps,actions/checkout@v1will checkout the source code of the current repo -
actions/setup-java@v1is used to setup java environment -
envwill setup the id of the current pull request (PR) -
runwill execute the 2 commands.-
./gradlew lintwill executelintand produce alint-results.yml, - then
./gradlew parseAndSendLintResultwill take this yml file, parse it and render into a markdown table, and send it to the pull request in Github.
-
Next, let's look at how to setup.
Android LInt Reporter Setup
Before parseAndSendLintResult became available, it needs to be setup.
First this needs to be added to build.gradle:
buildscript {
  repositories {
    maven {
      url "https://plugins.gradle.org/m2/"
    }
  }
  dependencies {
    classpath "gradle.plugin.com.worker8.android_lint_reporter:android_lint_reporter:<latest_version>"
  }
}
Next, this needs to be added to app/build.gradle:
plugins {
    id "com.worker8.android_lint_reporter"
}
android_lint_reporter {
    lintFilePath = "./app/build/reports/lint-results.xml"
    githubUsername = "worker8"
    githubRepositoryName = "SimpleCurrency"
}
For a github project url like this: https://github.com/worker8/SimpleCurrency/, githubUsername would be worker8 and githubRepositoryName would be SimpleCurrency.
A more detailed setup is written in the Readme: https://github.com/worker8/AndroidLintReporter.
Now that the plugin is setup, this gradle task ./gradlew parseAndSendLintResult will become available in the project.
Next, I'll walkthrough the source code of this Plugin.
Android Lint Reporter Source Code
AndroidLintReporterPlugin.kt
The heart of the Plugin is the AndroidLintReporterPlugin.kt file. AndroidLintReporterPlugin.kt (Github)
To write a Gradle Plugin, I inherited from the Plugin interface and overrided apply method:
class AndroidLintReporterPlugin : Plugin<Project> {
   override fun apply(project: Project) {
       ...
   }
}
Then I created the plugin and registered a task like below:
class AndroidLintReporterPlugin : Plugin<Project> {
   override fun apply(project: Project) {
+       val extension = project.extensions.create("android_lint_reporter", AndroidLintReporterPluginExtension::class.java)
+       project.tasks.register("parseAndSendLintResult") { task ->
+           task.doLast {
+                ...
+            }
+        }
   }
}
After that I added in the meat of the plugin:
Parser.parse() and Renderer.render():
class AndroidLintReporterPlugin : Plugin<Project> {
   override fun apply(project: Project) {
       val extension = project.extensions.create("android_lint_reporter", AndroidLintReporterPluginExtension::class.java)
       project.tasks.register("parseAndSendLintResult") { task ->
           task.doLast {
+                // 1.
+                val issues = Parser.parse(File(extension.lintFilePath))
+                // 2.
+                val bodyString = Renderer.render(issues)
            }
        }
   }
}
Explanation:
-
Parser.parse()parsed thelint-results.xmlfile, which was passed in as an argument. The result was placed into theissuesvariable. -
Renderer.render()tookissuesvariable in and rendered it into a markdown table and stored the result intobodyStringto be sent to Github Pull Request.
Then GithubService was added to send the output markdown table:
class AndroidLintReporterPlugin : Plugin<Project> {
   override fun apply(project: Project) {
       val extension = project.extensions.create("android_lint_reporter", AndroidLintReporterPluginExtension::class.java)
       project.tasks.register("parseAndSendLintResult") { task ->
           task.doLast {
                // 1.
                val issues = Parser.parse(File(extension.lintFilePath))
                // 2.
                val bodyString = Renderer.render(issues)
+                // 3.
+                val service = GithubService.create(
+                       githubToken = githubToken,
+                       username = extension.githubUsername,
+                       repoName = extension.githubRepositoryName,
+                       pullRequestId = githubPullRequestId
+               )
+
+               val response = service.postComment(bodyString).execute()
+               if (response.isSuccessful) {
+                   println("Lint result is posted to https://github.com/${extension.githubUsername}/${extension.githubRepositoryName}/${githubPullRequestId}!")
+               } else {
+                   println("An error has occurred... ")
+                   println("code: ${response.code()}, message: ${response.message()}, body: ${response.errorBody()}")
+               }
            }
        }
   }
}
Explanation
- Then Github Service was setup to send
bodyStringto Github Pull Request that initiated this check.
(The network library used wasRetrofit)
Parser.kt
Let's take a look at the source code at Parser used above:
Parser.kt (Github)
Parser has a parse() method that takes a file: File in.
object Parser {
    fun parse(file: File): Issues {
        // ... to be added ...
    }
}
The expected input file should be a lint xml result file, which is the result from ./gradlew lint, here is an example of the file: lint-results.xml (Github)
Here's a quick snippet of how the content looks like this:
<?xml version="1.0" encoding="UTF-8"?>
<issues format="5" by="lint 3.5.3">
    <issue
        id="ObsoleteLintCustomCheck"
        severity="Warning"
        message="Lint found an issue registry..."
        category="Lint"
        priority="10"
        summary="Obsolete custom lint check"
        explanation="Lint can be extended with 'custom checksadditional checks implemented by developers and libraries"
        includedVariants="debug"
        excludedVariants="it,mock,release,staging">
        <location
            file="/Users/j-tan/.gradle/caches/transforms-2/files-2.1/ce9f21eaf816474b3afa5f9e9ac25f73/annotation-experimental-1.0.0/jars/lint.jar"/>
    </issue>
</issues>
This xml contains all the lint issues the project had. So I used the javax.xml.parsers package to parse the xml.
First a document was initialized:
object Parser {
    fun parse(file: File): Issues {
+       val documentBuilderFactory = DocumentBuilderFactory.newInstance()
+       val documentBuilder = documentBuilderFactory.newDocumentBuilder()
+       val document = documentBuilder.parse(file)
+       // ... to be added ...
    }
}
Then the content was extracted one by one from document and assigned into issues to be returned.
object Parser {
    fun parse(file: File): Issues {
       val documentBuilderFactory = DocumentBuilderFactory.newInstance()
       val documentBuilder = documentBuilderFactory.newDocumentBuilder()
       val document = documentBuilder.parse(file)
+       val issues = Issues()
+       val issuesNodeList = document.getElementsByTagName("issues")
+       val issuesElement = issuesNodeList.item(0) as Element
+       val firstChild = issuesElement.childNodes.item(i)
+       val issue = Issue(
+           id = element.getAttribute("id"),
+           severity = element.getAttribute("severity"),
+           message = element.getAttribute("message"),
+           category = element.getAttribute("category"),
+           // ...omitted...
+           )
+       issues.add(issue)
+       return issues
    }
}
Note that: the source snippet was simplified a lot for easier comprehension. Refer to Github link for full source.
Next, issues was passed into Renderer.kt, so that it can be rendered into a markdown.
Renderer.kt
The code can be found here: Renderer.kt (Github).
The Renderer had a method render() which took issues as an input, and return a Github Flavored markdown String.
object Renderer {
    fun render(issues: Issues): String {
        // ... to be added
    }
}
The returned Github Flavored markdown String looked something like:
(Note: this is simplified too for easier understanding)
### Warnings :warning:

| File | Explanation |
| ---- | ----------- |
|app/src/main/res/layout/fragment_application_confirm.xml L46:13 | Duplicate ids across layouts combined with include tags |
This markdown String would then render something like this in Github (you have seen this above!):
The source code is a series of string concatenation, so I will spare you the details.
Functional Test For Development
While developing the plugin, I had to test the plugin. Before it was deployed to gradle plugin portal, it cannot be tested with a real project. So I had to rely on testing by writing a functional test. The file is AndroidLintReporterPluginFunctionalTest.kt (Github)
class AndroidLintReporterPluginFunctionalTest {
    @Test
    fun `can run task`() {
        // 1. Setup the test build
        val projectDir = File("build/functionalTest")
        projectDir.mkdirs()
        projectDir.resolve("settings.gradle").writeText("")
        projectDir.resolve("build.gradle").writeText("""
            plugins {
                id('com.worker8.android_lint_reporter')
            }
            android_lint_reporter {
                lintFilePath = "./src/main/resources/lint-results.xml"
                githubUsername = "worker8"
                githubRepositoryName = "SimpleCurrency"
            }
        """)

        // 2. Run the build
        val runner = GradleRunner.create()
        runner.forwardOutput()
        runner.withPluginClasspath()
        runner.withArguments(listOf("parseAndSendLintResult", "-PgithubToken=", "-PgithubPullRequestId="))
        runner.withProjectDir(projectDir)
        val result = runner.build();
        assertTrue(true)
    }
}- The first part,
1. Setup the buildmade two temporary files. The two files emulated how a real project would add the plugin dependency. - Then the second part,
2. Run the buildemulated the running of the following command:
$ ./gradlew parseAndSendLintResult -PgithubToken=<github_token> -PgithubPullRequestId=<github_pull_request_id>`.(Note: If you want to try out this project, you have to fill the arguments in.)
This way, the plugin could be tested it was published by simply hitting the Play button in Android Studio:

Publishing
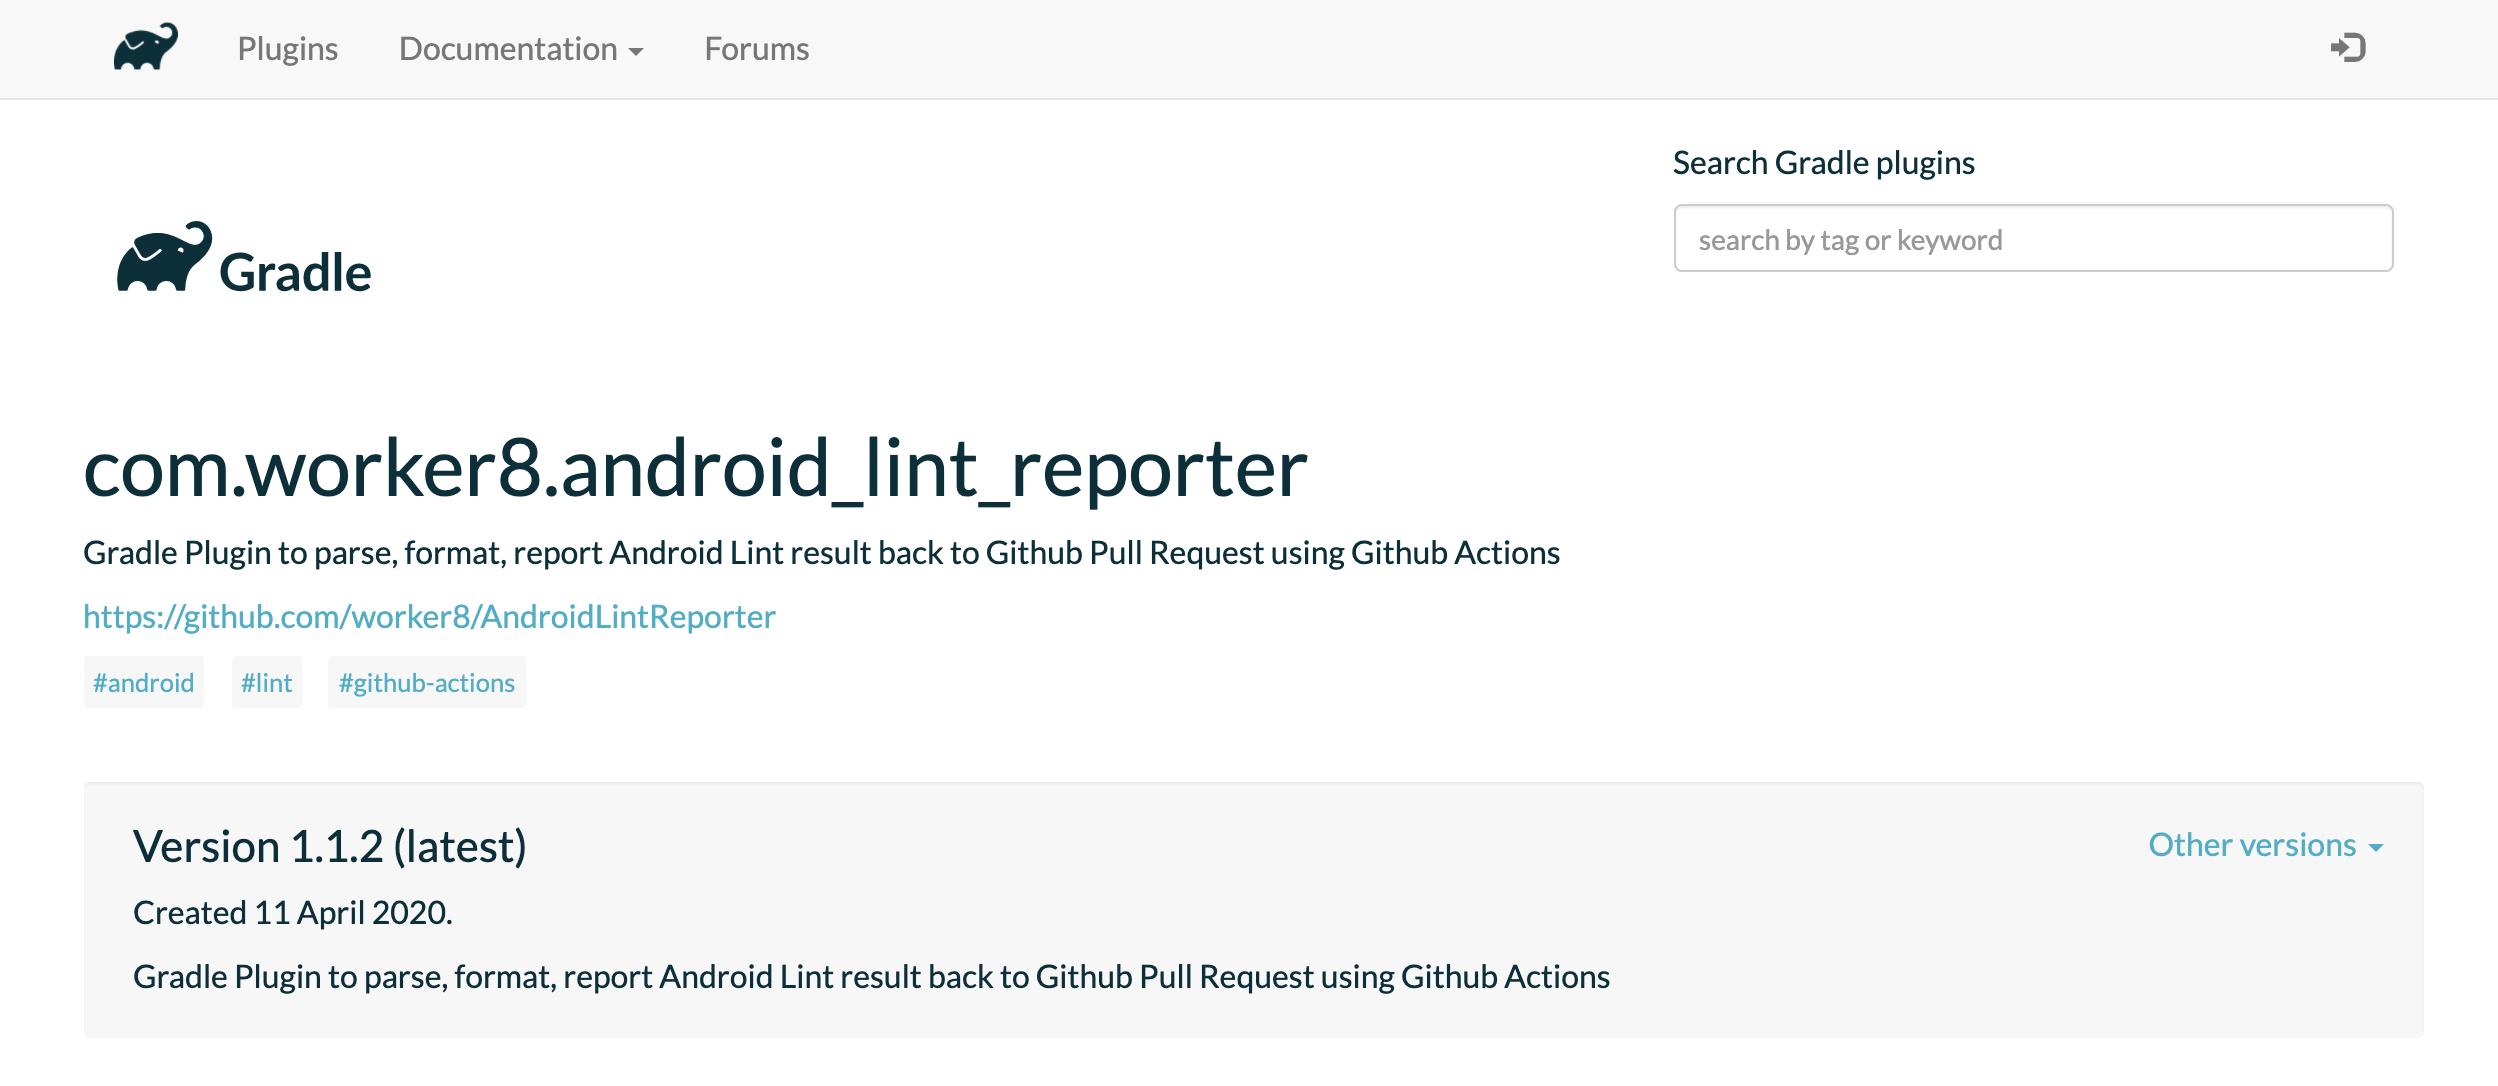
Finally, the plugin was ready! I then followed this guide to setup the publishing plugin: https://guides.gradle.org/publishing-plugins-to-gradle-plugin-portal/. After setting up, pushing was as easy as running a gradle task:
$ ./gradlew publishPluginsAfter the plugin was approved, it appeared on the Gradle Plugin Portal, ready to be used 🎉:
Closing
That's all! I'm finally able to try out Github Actions and made something useful. Feel free to try out the plugin and provide some feedback, and hope you find this post useful. 😃

Tan Jun Rong
Clap to support the author, help others find it, and make your opinion count.